[ad#300]
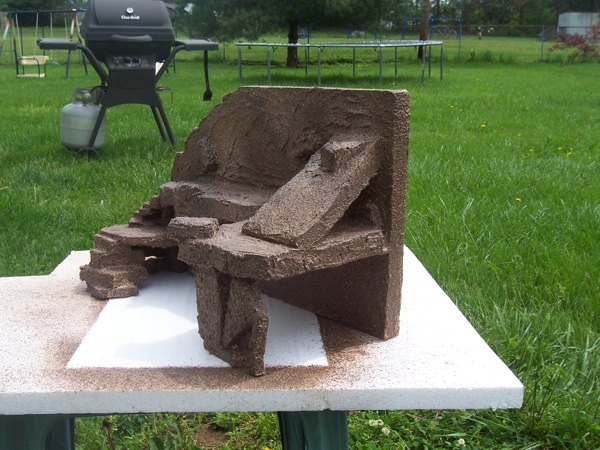
In today’s Do It Yourself post we have some guest authors who are going to show you how to make your own reptile Rock Wall! We have explained in detail the products you need and the steps you should take to create your very own rocky playground for your gecko.
Supplies needed:
- 1″ Styrofoam Board (Sheathing Insulation) (sold at Lowe’s, Home Depot, etc.)
- utility knife
- tape measure
- sharpie marker
- toothpicks
- joint compound (drywall mud)
- liquid nails general purpose
- 2 cans textured/stone style spray paint ( I used Rust-Oleum American Accents Stone Paint purchased at Wal-Mart)
- a can of protective sealer (don’t use a high gloss sealer)
[ad#sponsor]
Step #1:
Measure the inside of the aquarium you are putting the wall into. You need to measure the clearance you have at the top of your aquarium to freely place your wall into the aquarium. Give yourself about half an inch to allow for mud application. Example: If you have 9″ wide by 15″ long, then you should be building something like 8 1/2″ by 14 1/2″, leaving you room to add mud. Otherwise you will make your wall and then not be able to get it into your aquarium. Keep these measurements in mind and start building accordingly.
Step #2: Hardest Step.
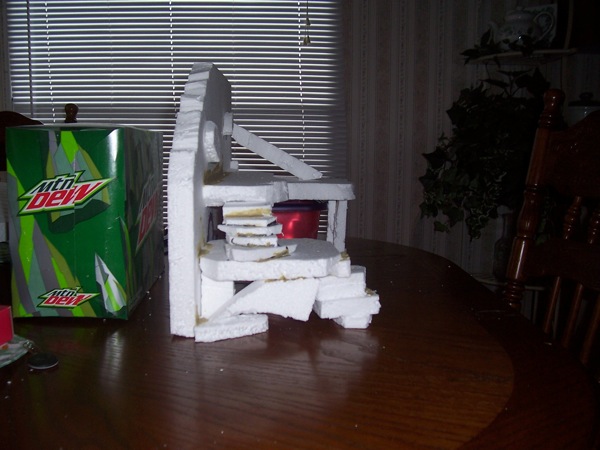
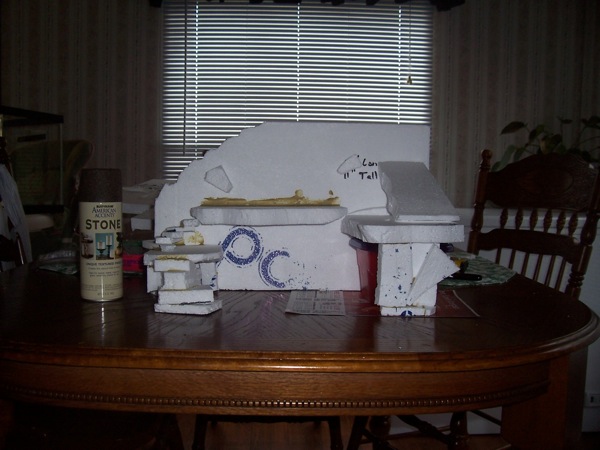
You need to have a basic idea of how you want your wall to look. Using your measurements, cut out a back wall piece. Cut it to size. Start cutting away with your utility knife. Cutting, trimming, shaving, breaking pieces to suit you, small pieces, large pieces, ledges, etc., the more imperfections the more of a natural look you get. The more you connect to the back the better stability you’ll have. I used toothpicks to make a mock-up of my build so I could move things around until I got what I liked.
Step#3: Gluing a bit messy.
Use the liquid nails to glue all your pieces together. You can use the glue generously; it dries hard as rock. Make sure all the ledges you make are supported well. My long ledge has another small one directly under it for added support. Let all the glue dry over night. Once dry, put it into your aquarium to see if there is anything else you want to add or take away. It is easier to make changes before mud step.
Step #4: Apply Mud, Really Messy: Just start Applying.
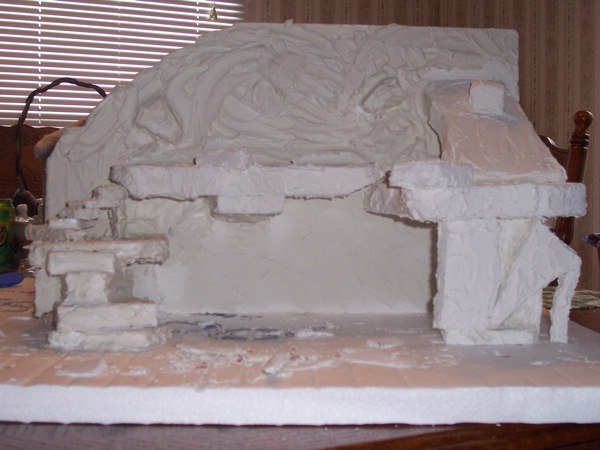
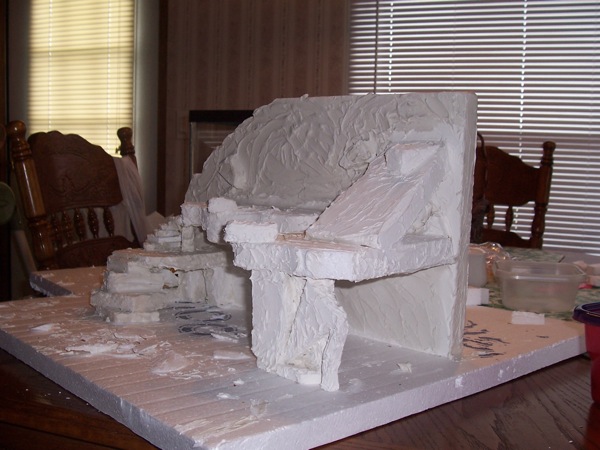
There is no wrong way to do it. I used a narrow putty knife, my hands and fingers. I also used a pencil to get to the small crevices. Remember that imperfections are good. You just want to get a good coat on it. It will be thicker in some spots and thinner in others. I just made sure I had a thin layer in all spots. I didn’t put any mud on the back side or the bottom edges. Once you have good thin layer let it dry overnight.
Step #5 : Paint.
I painted the back side (no mud on it) first with regular black spray paint. I used a dark color stone paint to cover all of the rest. I then use a light color stone paint to highlight it in spots. I also used some regular black paint for some shading in spots. You can paint to suit yourself. Let it dry overnight.
Step #6: Sealer. Important.
Apply the sealer of your choice. I put 3 thin coats on, waiting about 2 hours between each coat. Apply it carefully: the sealer I used was thin and would run easily. Sealer runs do not look good on your wall.
Step #7: Air it out.
I let mine air out about a week before putting it in the aquarium. Let it aqir out in the sun for part of the time too.
Step #8: ENJOY!
Enjoy your finished product! If you have any tips of your own leave them in the comments below!



Someone asked: “Is it possible that residue from the styrofoam would rub off and my leopard gecko would eat it and get sick?”
My Reply: There should not be any problem of residue being eaten as long as you seal it really good. I’ve been using mine for a couple months now with ill affects to my gecko. She loves it. Thanks, Donnie!
hey i want to use this idea to make other designs but how do i seal it
so it doesnt hurt my leopard gecko?
This is AWESOME! i have been looking for a way to make the back wall of my 55 gallon look natural for my Leo’s. I can paint it to match the slate tiles i purchased. What (nonToxic to leo’s) sealer should i use?
how do you clean/disinfect it?
Can you submerge something like this in water without any problems? I was thinking of making a waterdish like this.
can you use any kind of sealer or do you have to use a non-toxic sealer?
You can use Mod-Podge to seal it. It’s cheap, non-toxic, and easily manipulated.
How did you secure this to the terrarium after you built it????
What kind of sealer did you use?
Thanks, I learned a lot reading your post. Its given me a lot of ideas. I plan on building a bearded dragon enclosure .